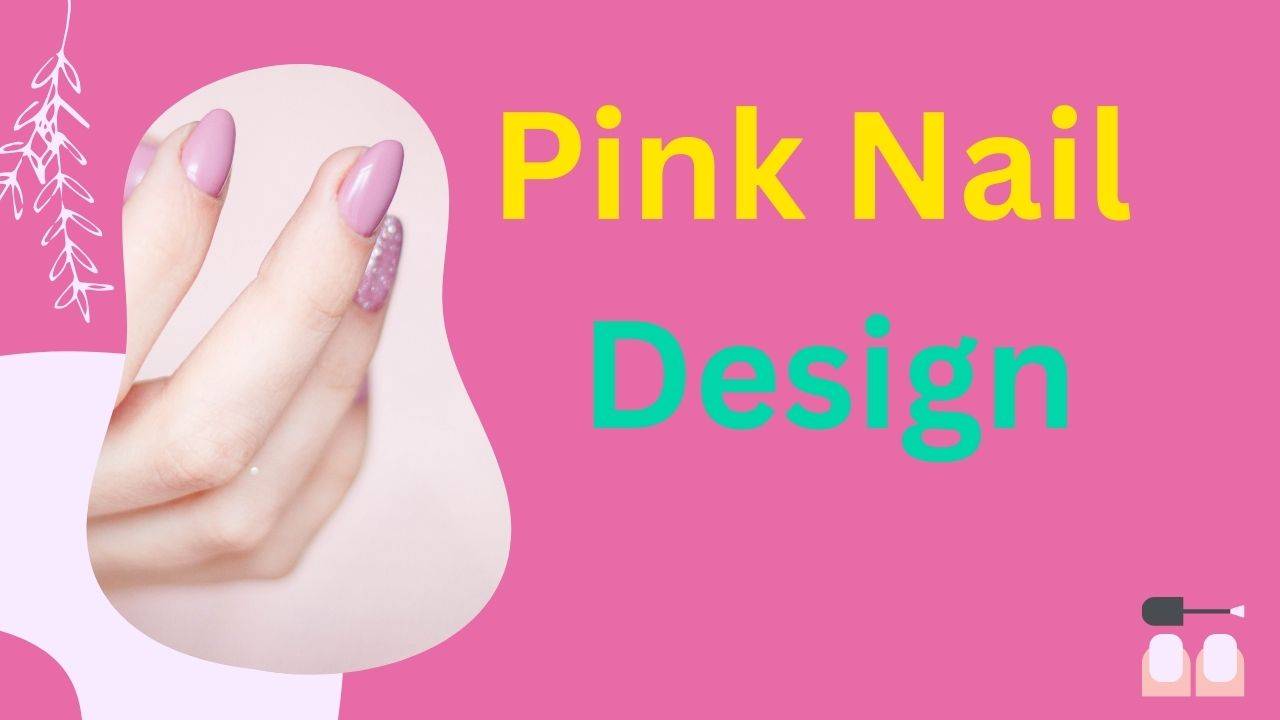
Nail art has evolved beyond a mere trend; it has become a means of self-expression and creativity, enabling individuals to flaunt their distinctive style. Amidst the plethora of nail designs, pink nails stand out as a timeless favorite. Impeccably pink nails radiate elegance, charm, and versatility. Whether you seek a subtle daily appearance or a glamorous statement, mastering the art of pink nail designs is imperative. This ultimate guide will walk you through all the essential steps to attain flawless pink nails.
Choosing the Perfect Pink Shade
The foundation for achieving perfect pink nail designs lies in selecting the right shade of pink. Pink spans various tones, from soft pastels to vibrant fuchsias. Consider your skin tone and the occasion when choosing your pink. Light pinks complement fair skin, while bolder shades work well with deeper skin tones.
Prepping Your Nails
Before delving into the artistic process, ensure your nails are prepared. Trim and shape them to your desired length and style. Use a gentle file to create smooth edges, avoiding any snags.
Nail Shape Matters
The shape of your nails significantly influences the overall look of your pink nail designs. Popular shapes include almond, oval, square, and stiletto. Choose a shape that complements your personal style and nail length.
Base Coat for Longevity
To prolong the life of your pink nail design, always start with a high-quality base coat. This enhances the polish’s durability, prevents staining, and promotes a smoother application.
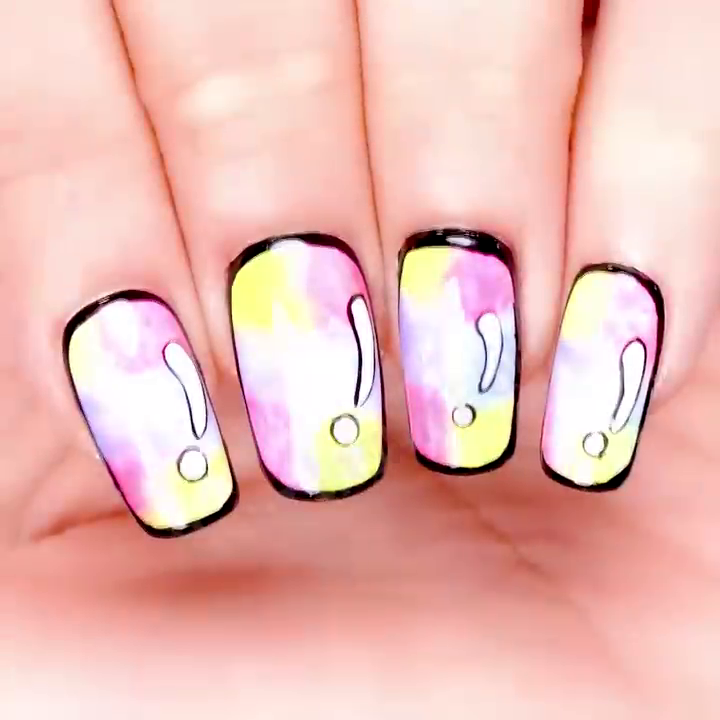
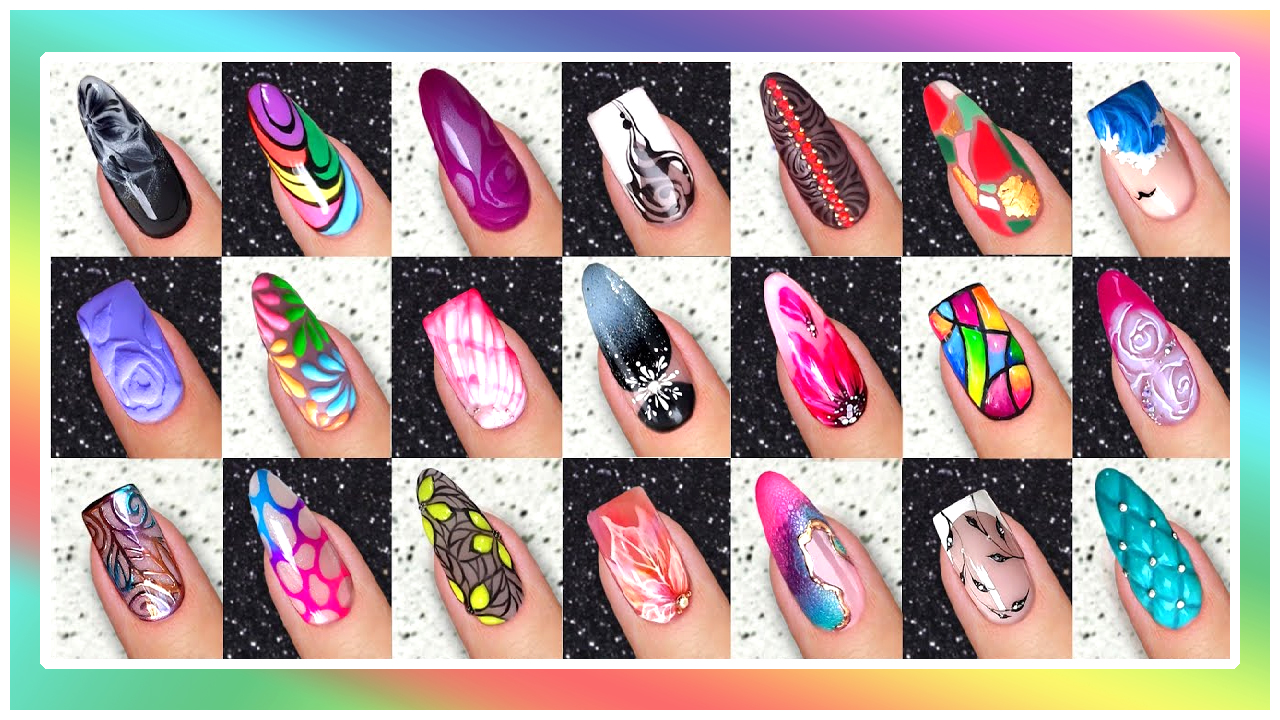
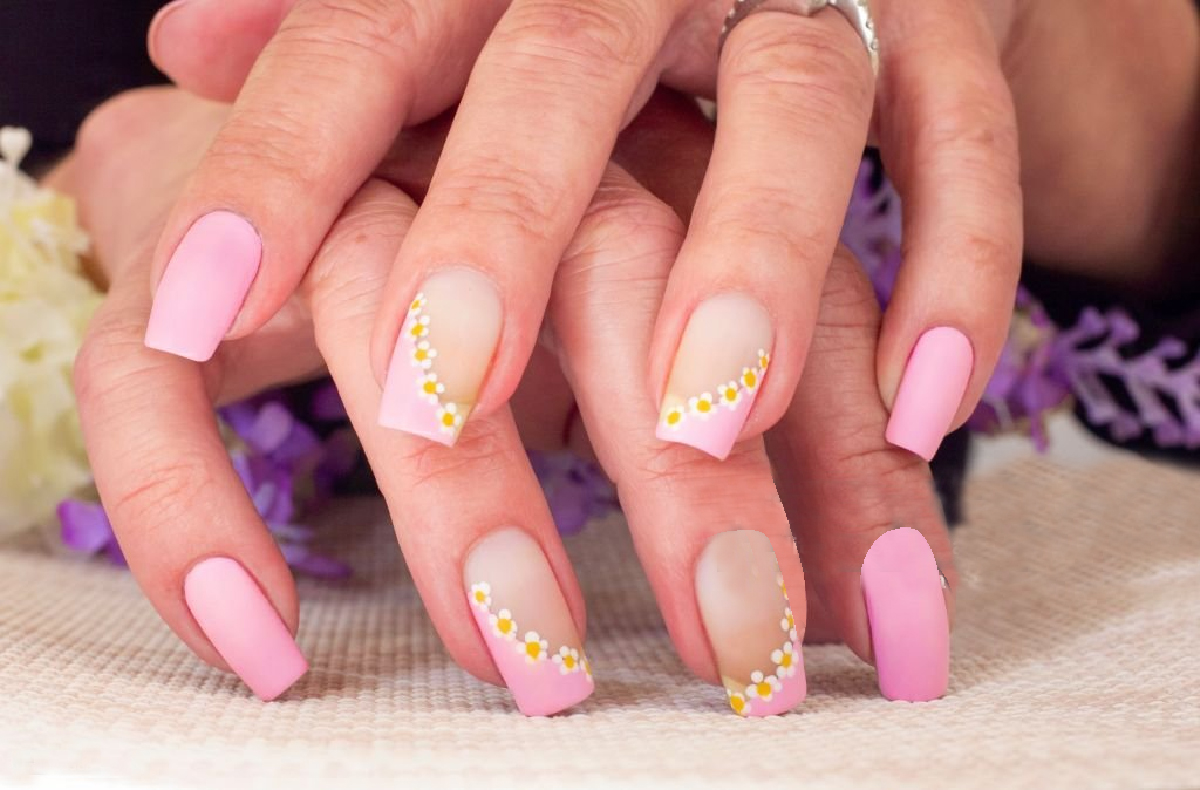
Pink Nail Design Ideas
Pink nail designs offer endless creative possibilities. Here are some popular ideas to inspire you:
- Solid Pink Elegance: For a classic and timeless look suitable for both casual and formal occasions.
- Ombre Pink Perfection: Create a gradient effect by blending two or more pink shades, adding sophistication to your look.
- Pink with a Pop of Glitter: Elevate your pink nails with a touch of sparkle by applying glitter to one or more nails for a dazzling effect.
- Floral Pink Art: Express your artistic side by adding delicate floral designs, using nail art brushes and different shades of pink to create intricate flower patterns.
- French Tips with a Pink Twist: Put a pink twist on the classic French manicure by using pink polish for the tips, offering a subtle yet chic choice.
Tools of the Trade
To achieve perfect pink nails, you’ll need the right tools:
- Pink nail polish in your chosen shade
- Base coat
- Top coat
- Nail file and buffer
- Nail art brushes
- Nail polish remover
- Cotton pads
Step-by-Step Application
Follow these steps for flawless pink nails:
- Base Coat Application: Start with a clean nail surface. Apply a thin layer of the base coat and allow it to dry completely.
- Choosing Your Pink Design: Decide on your pink nail design, whether it’s solid, ombre, glittery, floral, or a pink French tip.
- The Artistic Process: Carefully apply your chosen design, layer by layer. Take your time to ensure precision and let each layer dry before moving on.
- Top Coat for a Polished Finish: Finish off your pink nails with a top coat. This adds shine and seals your design for lasting beauty.
Maintaining Your Pink Nails
To keep your pink nails looking their best, moisturize your cuticles daily, and avoid using your nails as tools. Consider touch-ups if necessary to maintain that perfect pink look.
Troubleshooting Common Issues
If you encounter common nail issues like smudging, chipping, or streaky application, there are simple solutions to each problem.
Removing Pink Nail Polish
When it’s time for a new design, use a gentle nail polish remover to avoid damaging your nails.
Final Thoughts on Pink Nail Designs
Perfect pink nail designs are a delightful way to express your style and creativity. Experiment with different shades and designs to discover your signature pink look.
Troubleshooting Common Issues
Perfecting your pink nail design might come with a few challenges, but fear not! Here are some solutions to common nail issues:
- Smudging: Apply thin layers of polish and allow each layer to dry completely. Quick-drying drops or sprays can help speed up the drying process.
- Chipping: Prevent chipping by applying